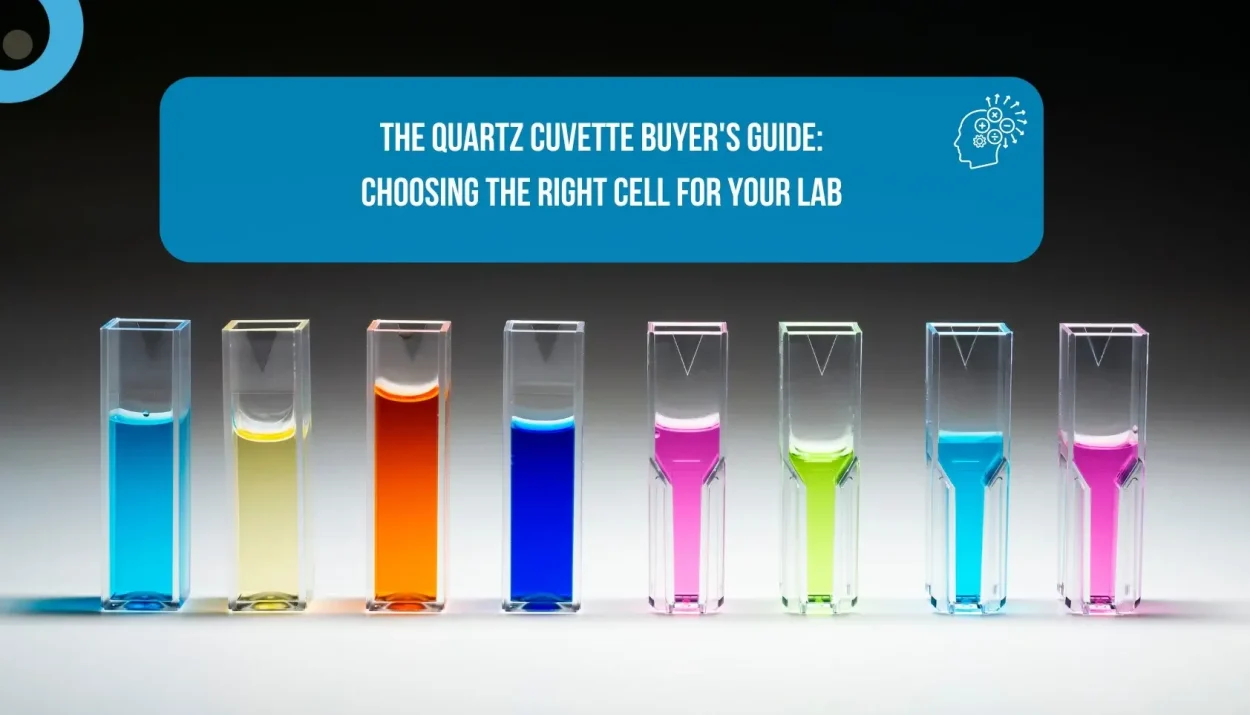
If you work with spectrophotometers, you know the reading is only as good as the cuvette holding your sample. Quartz cuvettes are the gold standard for precision work, but choosing the wrong one can waste money and time and compromise your data. This guide cuts through the confusion. We’ll break down the types and key specifications, and give you a clear framework for selecting the perfect quartz cuvette for your application.
Part 1: Understanding Quartz – The “Why” Behind the Material
Why quartz? Unlike plastic or standard glass, fused quartz (or silica) is transparent to a broader range of light.
Transmission Range: UV-grade quartz transmits from around 170 nm (deep UV) to over 2,500 nm (IR), making it essential for UV-Vis, fluorescence, and some IR spectroscopy.
Key Benefit: The same cuvette can be used for studying DNA/RNA at 260 nm (UV) and colored compounds in the visible spectrum. Plastic and glass options block UV light.
Durability: Quartz resists thermal shock and most chemicals, except strong alkalis and hydrofluoric acid.
Terms like “Suprasil” and “Infrasil” refer to high-purity quartz for UV or IR work. Standard spectroscopic-grade quartz suffices for most labs.
Part 2: The Three Main Types of Quartz Cuvettes
Application influences the physical design. The three primary categories are:
Standard Spectrophotometer Cuvettes (Two Clear Sides)
Design: Two opposite windows are clear and parallel; the other sides are frosted or opaque.
Use Case: Standard
UV-Vis absorbance. How it Works: Light passes through one clear window, the sample, and out the opposite window to the detector.
Best For: Routine concentration measurements, kinetics studies, and teaching labs.
Fluorescence Cuvettes (Four)
Design: All four sides are optically polished and clear. Optically clear.
Use Case: Fluorescence and luminescence
Excitation light enters one window; emitted light is detected at 90°. Clear sides enable this detection.
Best For: Sensitive fluorescence assays, protein quantification, and any experiment measuring light emission from a sample.
Flow Cuvettes / Stopped-Flow Cells
Design: Inlet and outlet ports allow sample flow without opening the spectrometer.
Use Case: Kinetic studies, chromatography detection, or automated analysis.
Sample flows through the cell, enabling rapid or continuous measurement of reactions or effluents.
Best For: Studying fast reactions, HPLC/UPLC detectors, and automated sample handling systems.
Part 3: The Specs That Matter – Decoding the Numbers
Do not simply purchase a “quartz cuvette.” Ensure these key specifications align with your instrument and workflow.
Path Length: This is the internal distance light travels through your sample.
10 mm: The universal standard. Used for most applications, and most published molar absorptivity constants are based on it.
Shorter (1 mm, 2 mm): Use for concentrated samples that would absorb too much light in a 10 mm cell (per Beer-Lambert Law).
Longer (e.g., 50 mm): Use for very dilute samples to enhance weak absorbance signals.
Volume / Z-Height:
Volume is the liquid needed to fill the light path. Miniature cells (0.5 mL) save on sample volume.
Z-Dimension is the window’s height. It must match your spectrophotometer’s beam height, or readings will be inaccurate.
Optical Quality & Tolerance:
Bandpass (Tolerance): Premium cells have a tighter path length tolerance (e.g., ±0.01 mm). This is critical for quantitative, publishable work that requires accuracy across cells.
Surface Flatness: Windows must be optically flat to avoid scattering. Light scattering.
Part 4: Your Selection Checklist – How to Choose
Follow this simple decision flow:
Step 1: Define Your Application.
UV-Vis Absorbance? → Standard 2-window cuvette.
Fluorescence? → 4-window fluorescence cuvette.
Kinetics/Automation? → Flow cell.
Step 2: Match Your Instrument.
Confirm the required Z-height from your spectrometer manual.
Choose a path length (start with 10 mm unless your sample is very concentrated or dilute).
Step 3: Determine Your Quality Needs.
Routine/Teaching: Standard tolerance (±0.03 mm) is fine.
Research/Quantitative Analysis: Invest in higher-grade cells with tighter tolerance (±0.01 mm or better).
Step 4: Consider Sample & Usability.
Sample Volume Precious? Choose a microvolume cell (often with a 10 mm path but a
Cleaning Frequency High? Ensure the cuvette design allows easy cleaning. easy cleaning.
Conclusion
A quartz cuvette is not just a container; it is an optical component integral to your spectrophotometer’s performance. Choosing correctly ensures data integrity, saves resources, and streamlines your workflow.
For most labs, a set of standard 10 mm path length quartz cuvettes with the correct Z-height is the essential starting point. From there, branch out into specialized fluorescence cuvettes for emission studies or micro cells for valuable samples. Always prioritize matching the cuvette to your specific application and instrument specifications, rather than finding the lowest price.
By understanding the reasons behind the types and specifications, you transition from uncertainty to informed purchasing decisions that yield reliable results for years to come.