Getting the surface ready is essential when painting with copper-conductive paints. Let’s explore some easy steps to prepare your surfaces for painting with copper-conductive paints.
Why Surface Preparation Matters
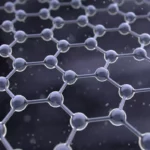
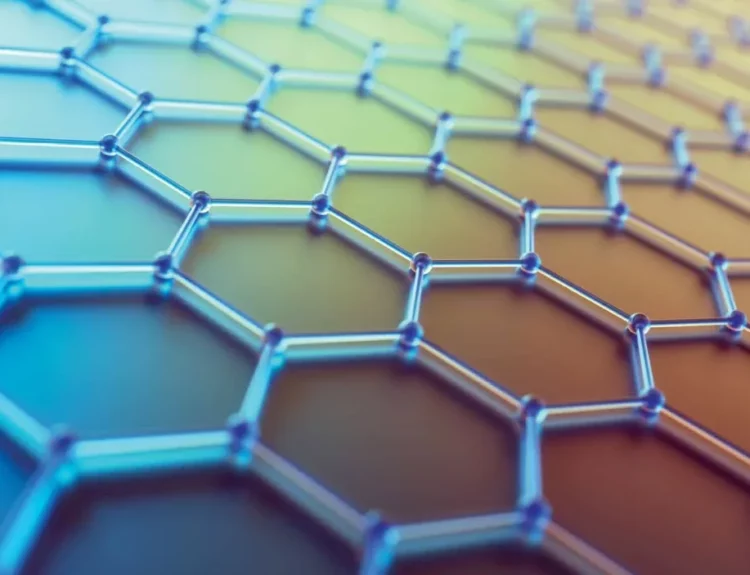
Surface preparation is like laying the groundwork for a successful painting project. It helps ensure good adhesion, smooth application, and long-lasting results. For copper conductive paints, which need to form a conductive layer, surface preparation is even more critical to ensure proper electrical conductivity.
Step 1: Clean the Surface
The first step is ensuring the surface is clean and free of dirt, dust, grease, or other contaminants. One can use a mild detergent and water solution or a solvent like isopropyl alcohol to clean the surface thoroughly. Rinse and dry the surface completely before moving on to the next step.
Step 2: Sand the Surface (if necessary)
If the surface is smooth or glossy, you may need to roughen it to improve adhesion. One can create a slightly rough texture on the surface by sanding it lightly with sandpaper or a sanding block. Be sure to sand evenly and avoid creating deep scratches or gouges.
Step 3: Prime the Surface (optional)
Depending on the type of surface and the specific copper conductive paint one is using, one may need to apply a primer before painting. A primer helps improve adhesion and can also help seal porous surfaces. Choose a primer compatible with both the surface material and the copper paint.
Step 4: Mask Off Areas (if necessary)
If one only wants to paint certain areas or protect surrounding areas from overspray, use masking or painter’s tape to mask off those areas. Ensure the tape is applied securely and evenly to prevent paint from seeping underneath.
Step 5: Apply the Copper Conductive Paint
To apply copper conductive paint, one must ensure that the surface is clean, dry, and adequately prepared. Following the manufacturer’s instructions for the application process is crucial, including recommended drying times and temperature conditions. Apply the paint evenly and thinly, allowing each layer to dry entirely before applying the next one.
Step 6: Finishing Touches
After the paint has dried, one can remove any masking tape and inspect the painted surface for imperfections. If necessary, one can touch up any areas with additional paint or make any adjustments.
Conclusion
By following these easy steps for surface preparation, one can ensure that the copper conductive paint adheres appropriately and performs its best. With a clean, properly prepared surface, one will be on the way to creating beautiful, conductive finishes for all the projects.
To purchase this product, please follow this link.