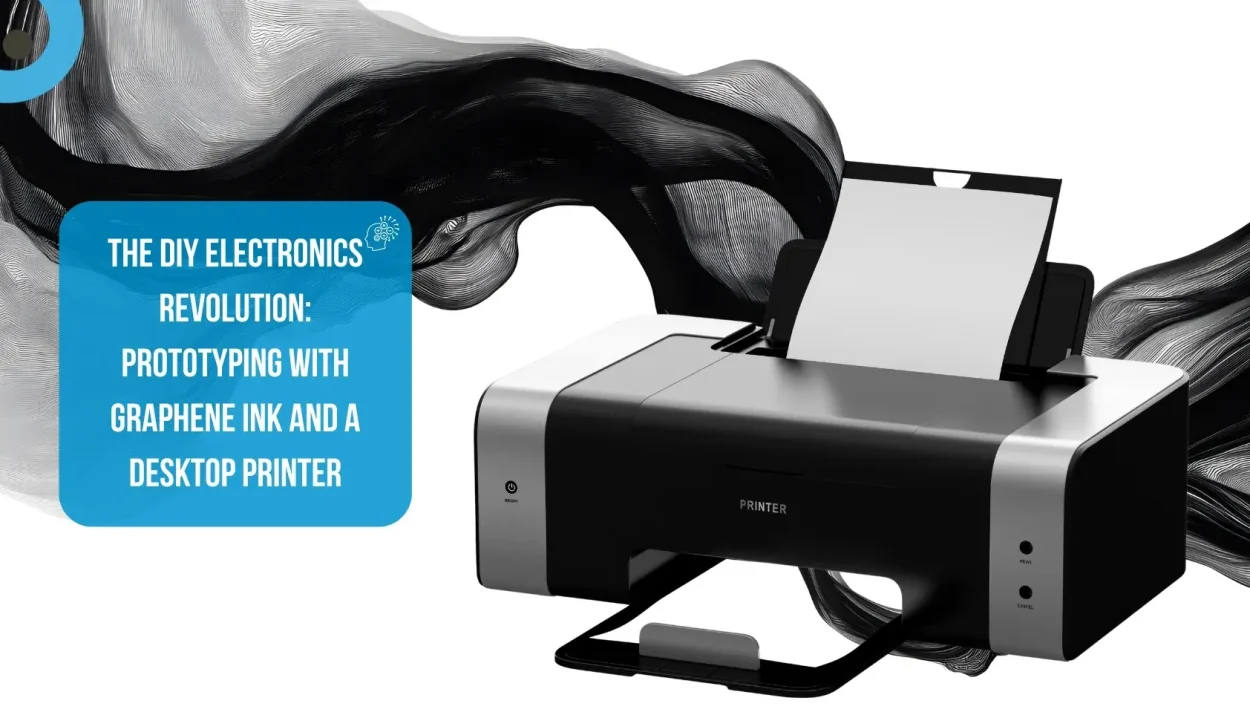
Imagine this: You design a circuit design on your computer, click print, and see a standard desktop printer applying shining, conductive traces onto a sheet of paper. In minutes, you have a working sensor, a functional antenna, or a glowing LED circuit—no etching chemicals, no copper cladding, no specialized equipment. This isn’t science fiction. This is the DIY electronics revolution, powered by graphene conductive ink. For too long, electronics prototyping has been confined to specialized labs. But what if you could break down those walls? What if the barrier between idea and prototype was as thin as a piece of paper?
Welcome to the new era of making.
Your Desk is Now a Fab Lab: The Tools You Need
The beauty of this revolution is its simplicity. You likely already have most of what you need:
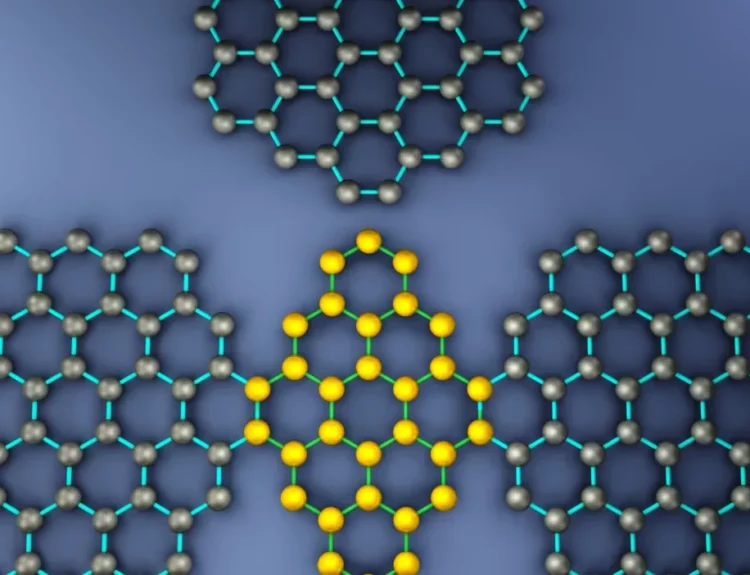
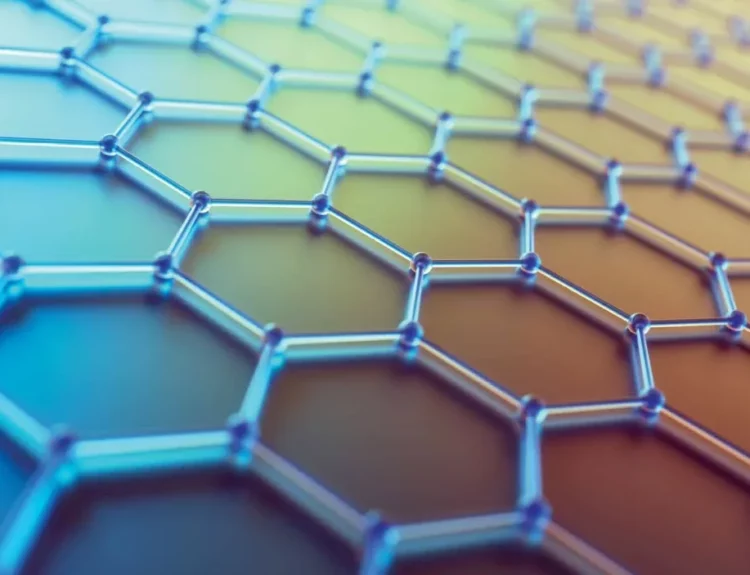
- The Ink: Graphene Conductive Ink. This is the magic sauce. It’s a suspension of microscopic graphene flakes the world’s thinnest, strongest, and most conductive material in a carrier fluid. It’s stable, non-toxic, and designed to flow through printer nozzles.
- The Printer: A modified inkjet printer. This is the only “hack” required. You’ll permanently dedicate a consumer-grade printer to this purpose by replacing its cartridges with specially designed ones you can fill with graphene ink. Think of it as your personal circuit-plotter.
- The “Canvas”: Almost anything flat and smooth! Start with glossy photo paper (it provides a great non-porous surface), then graduate to transparency sheets, PET plastic, or even fabric.
That’s it. With these three components, you’re ready to create.
Your First Print: From Zero to Circuit in 10 Minutes
Let’s make it real. Here’s how to print a simple capacitive touch sensor that turns on an LED.
Step 1: Design Using any standard design software (even PowerPoint or free software like Inkscape), draw your circuit. Create two interlocking, but non-touching, comma-shaped pads for the sensor and the traces leading to where an LED and battery will connect. Save it as a PDF.
Step 2: Print Load a sheet of glossy paper into your modified printer. Send your design to the printer. Watch as the print head moves back and forth, laying down a sleek, black, conductive path of graphene ink.
Step 3: Cure The freshly printed traces are wet. A quick pass with a heat gun or a few minutes under a desk lamp evaporates the solvents, leaving behind a solid, highly conductive graphene network. You’ll see the surface turn from glossy wet to matte black.
Step 4: Populate & Test Now for the magic. Tape a small coin cell battery to the contacts. Use conductive tape or a dab of silver epoxy to attach a Surface-mount LED. The moment you press the battery into place, the LED lights up. Then, gently touch the sensor pad—your body’s capacitance changes the circuit’s state, making the LED brighten or dim.
Congratulations. You’ve just printed a functional electronic device.
Why This Changes Everything for Makers
This isn’t just a neat trick. It fundamentally changes the prototyping workflow.
Speed: Go from a digital design to a physical circuit in under 10 minutes. Iterate designs instantly.
Accessibility: No more dangerous chemicals like ferric chloride for etching boards. The process is clean and safe enough for a classroom or a home workshop.
Form Factor Freedom: Print on curved surfaces (in a flattened design), on flexible materials, or even create disposable, biodegradable electronics on paper.
Low Cost: After the initial setup, the cost per print is incredibly low, empowering you to experiment without fear of wasting expensive materials.
Beyond the Blinking LED: What Can You Really Make?
The simple touch sensor is just the beginning. This technology unlocks a universe of DIY projects:
Printed RFID Tags: Create your own unique and low-cost RFID tags for inventory tracking or interactive art applications.
Paper-Based Sensors: Print moisture sensors for plants, or strain sensors that can be attached to a structure to monitor bending.
Custom Heater Elements: Print a conductive pattern on a ceramic tile to create a miniature, low-power heater.
Arduino Shields: Print custom-shaped interface boards to connect sensors and actuators directly to your microcontroller, perfectly tailored to your project’s unique geometry.
The Future is Printed, and It Starts with You
The barrier between the digital and physical world is dissolving. Graphene ink and a desktop printer transform you from a passive consumer of technology into an active creator of it. This is more than a new tool it’s a new philosophy of making: faster, cleaner, and limited only by your imagination.
The revolution won’t be manufactured in a billion-unit factory. It will be prototyped on your desk.