If you have ever stepped into a high-tech microscopy lab, you have likely seen a small, unassuming roll of black tape sitting next to a million-dollar electron microscope. While it looks like ordinary electrical tape, Carbon Tape is a specialized tool that enables modern scientific imaging.
Whether you are a student starting your first lab rotation or a researcher looking for better imaging results, this guide covers everything you need to know about this essential laboratory adhesive.
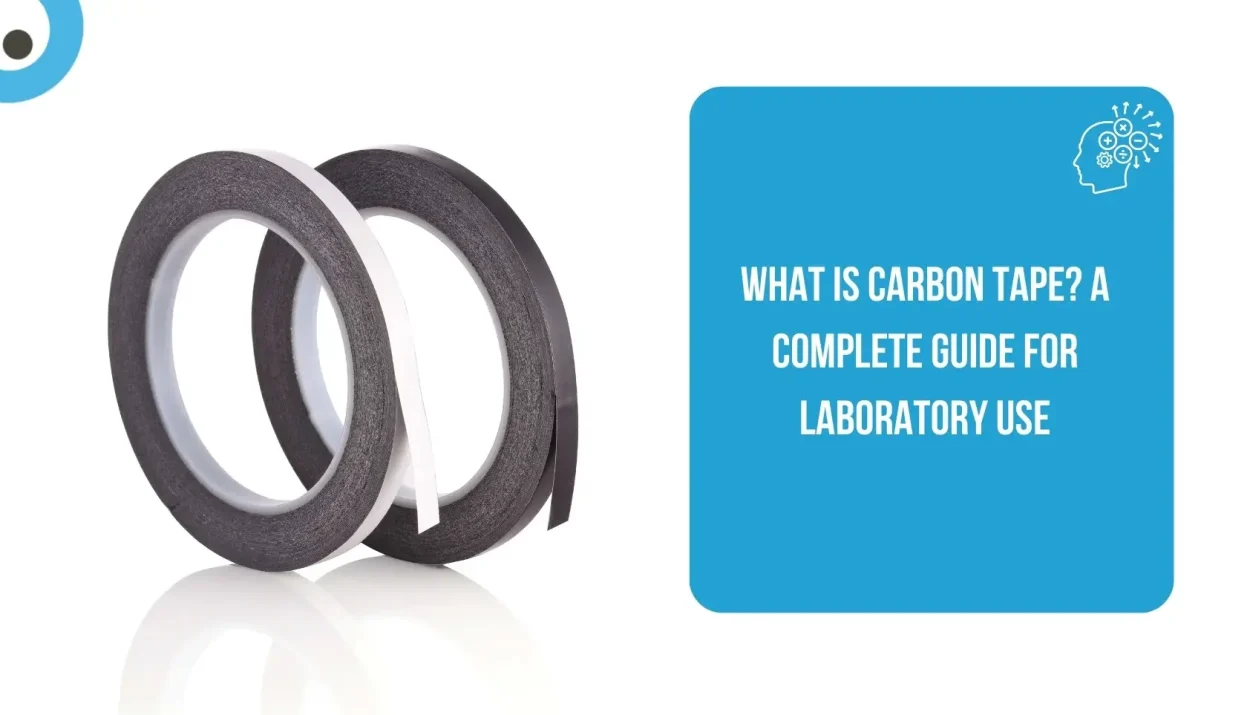
What Exactly is Carbon Tape?
Carbon Tape is a double-sided adhesive tape loaded with high-purity carbon (graphite) particles.
In a laboratory setting, it is primarily used to mount samples onto metal stubs for viewing under a Scanning Electron Microscope (SEM). Unlike regular office tape, which is made of plastic and glue that blocks electricity, carbon tape is designed to be highly conductive.
Why is Conductivity So Important in Microscopy?
To understand why we use carbon tape, you have to understand how an SEM works. The microscope shoots a beam of electrons at your sample to see it.
If your sample is sitting on non-conductive tape, those electrons have nowhere to go. They build up on the surface of your sample a problem scientists call charging. Charging creates bright white glows and streaks in your images, making it impossible to see fine details.
Carbon tape acts like a lightning rod. It creates a path for those extra electrons to flow away from the sample and into the microscope’s ground, resulting in a crisp, clear image.
Key Benefits of Using Carbon Tape
Why is carbon tape the go-to choose for researchers worldwide? It offers several unique advantages:
- Low Outgassing: In the high-vacuum environment of an electron microscope, cheap glues can outgas and gunk up the expensive lenses. Carbon tape is vacuum-stable, meaning it remains solid under vacuum.
- Strong Adhesion: It holds tiny particles, fibers, or biological samples firmly in place so they don’t fly away inside the microscope.
- Smooth Background: The tape has a very fine surface texture. When viewed under high magnification, it appears as a flat, dark void, making your bright sample pop in the photo.
- Easy to Use: It can be cut to any size with scissors or a scalpel, making it perfect for custom-shaped samples.
How to Properly Apply Carbon Tape
Using carbon tape correctly is an art form. Here are the steps for a perfect mount:
- Clean the Stub: Use alcohol to wipe the metal SEM stub to remove any oils.
- Apply the Tape: Cut a small square of carbon tape and press it firmly onto the stub.
- The Tapping Method: Place your sample on the tape. If you are using powder, gently tap the stub’s side to remove any loose grains that aren’t stuck down.
- Create a Bridge: For very tall samples, you might need to run a small strip of tape from the top of the sample down to the stub to ensure a good electrical connection.
Common Tips for Better Lab Results
- Avoid Fingerprints: Always use tweezers. The oil on your skin is non-conductive, which can cause charging spots on the tape.
- Store it Right: Carbon tape can dry out over time. Keep your rolls in a sealed plastic bag in a cool, dark place to maintain the “stickiness” of the adhesive.
- Check the Expiry: If the tape feels brittle or leaves a residue on your gloves, it’s time to order a fresh roll.
Conclusion
It might seem like a simple accessory, but Carbon Tape is the bridge between a blurry, glowing mess and a Nobel-prize-quality scientific image. By providing a stable, conductive, and vacuum-safe base, it allows researchers to explore the microscopic world with perfect clarity. If you are aiming for high-resolution results in the lab, never underestimate the power of a good roll of conductive tape.